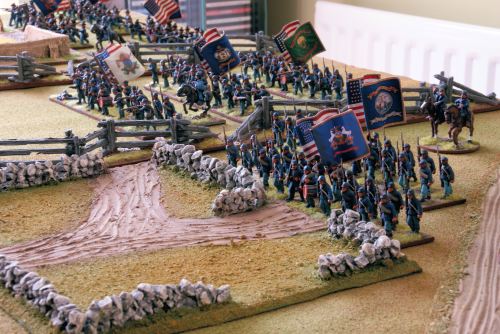
- The Union centre
I was able to play a game last weekend, the first for over 2 months. On top of the rules pile was “Bull Run to Gettysburg” by Dave Bickley published by Foundry, so ACW it was. A Confederate force of 3 brigades had to cross a river in the face of ever increasing Union troops – the Union had slightly more troops in 3 brigades along with some Sharpshooters, and both sides had a veteran brigade whilst the rest of their forces were tested.
The rules are unusual these days in that there is no command and control mechanism, so you can move all your troops in a turn so long as their morale hasn’t failed. This certainly led to a fast game, as the Rebs immediately splashed across the river in an attempt to deploy before the bulk of Union forces arrived.

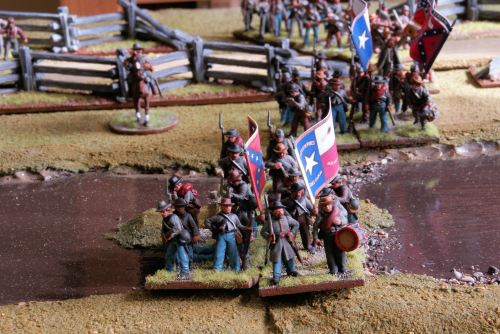
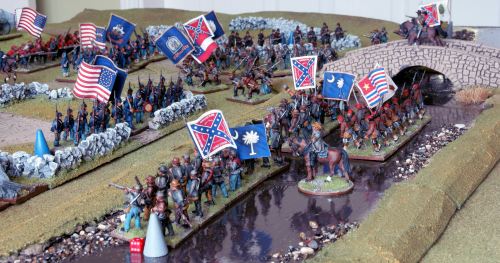
1st Texas cross ford
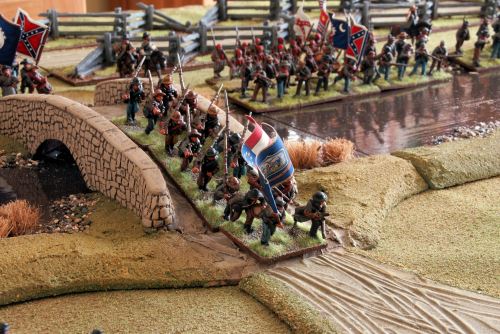
There doesn’t seem to be a distinction between column of route and attack column in the rules, so the 1st Maryland piled across the only bridge in single file (an excuse to let me try out the firing and morale rules on the first turn). They were fired on by the Sharpshooters, the 76th Pennsylvania (Keystone Zouaves) and a battery of 3 artillery pieces. Firing works by giving each base firing a D6, then adding or subtracting dice for various factors – this reminded me of Warmaster (no bad thing). The sharpshooters get a base 4 dice, +1 for 1st volley, +1 for being under cover, -1 for being fired at in the turn (by the 2nd Mississippi wading across the river), so 5D6 needing 3+ to hit. The under fire modifier is a nice touch, as it encourages supporting fire, even if the Rebs did have to waste their precious 1st volley to do it.

- 1st Maryland charge across the bridge
The Zouaves and artillery also fired at the 1st Maryland, and when the smoke cleared 9 Rebs were hit out of a regiment of 16, so clearly a morale test for losing 10% of the original unit strength in a turn. Morale is quite easy – roll a D6 and add or subtract modifiers. On 5 or greater (lower when rallying or pursuing) the unit passes. The Marylanders had +1 for advancing, +1 for support, +1 for brigade general within 10″, -1 for being under fire, -1 for being <50% of original strength, so a nett +1. They rolled a 2, so a total of 3 meant they had to halt – fair enough, though they were now blocking the bridge.
Other units also had to take morale tests for coming under fire for the first time, so there was a raft of morale checks to take. These were mostly pointless, as a unit which is under cover or advancing gets +1, another +1 for being supported, +1 for having a their general with 10″ and +2 for having over 75% of original strength – so most units were starting off with 5 (or 4 if they were under fire) before a dice was rolled and would automatically pass (you need a result greater than or equal to 5 to pass). I suppose experience of the game would tell you when to even bother rolling the dice, but these first turn morale checks took a while.

1st Maryland - the remains
On the next turn, I allowed the Marylanders to change formation, as the rules aren’t clear if a halt morale result stop this. (I think on reflection that this was wrong, as a formation change takes half a move and therefore probably counts as moving). Nope – I was right first time – clarified by Phil on the Lead Adventures forum
Both sides got bogged down in a firefight around the bridge, as the rules penalise firing after the second volley – another nice touch. Further down the river the South Carolina and Texas brigades made good progress. The 1st Texas made it to the field wall before the 7th Wisconsin, and both sides traded volleys.

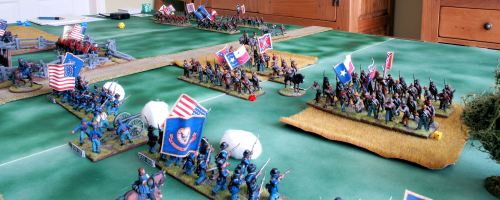
Texas Brigade get across the ford
Next turn the 7th Wisconsin charged the 1st Texas behind the wall and the 5th Texas (still in column) charged the 2nd Wisconsin, so I had to go through the close combat rules for the first time. Firstly, the 7th Wisconsin had to test morale to charge, but as you add +2 for charging, +2 for being over 75% of original strength, +1 for veteran, +1 for support, +1 for advancing last turn and +1 for general and only have -1 for being under fire, the total of 7 meant an auto-pass even without the addition of a D6. They moved to within 2″ of the wall and were met with a volley from the Texans. 5 dice +1 for being under cover but -1 for being charged caused 3 casualties, so enough for another morale check but not enough to take the Union regiment under 75% – even if they had, they would still have been on 5 so couldn’t have failed the charge home check. In the melee, both sides had 5 dice, but the Rebs got an extra dice for being behind the wall – it did them no good, as needing 5 or 6 to cause a casualty they failed miserably to roll any. The Union caused 2 casualties and the Rebs had to fall back allowing the Union over the wall, though they easily passed the morale check for losing the melee.

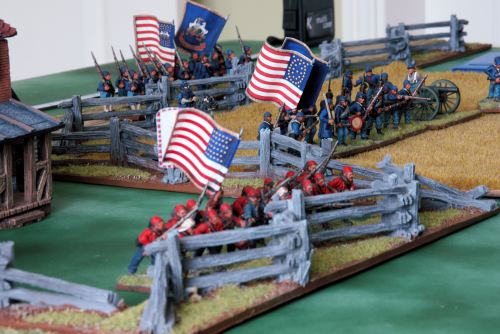
7th Wisconsin charge the 1st Texas
The other melee where the 5th Texas charged the 2nd Wisconsin was a bit more complex – only 2 bases from the Wisconsin regiment were on this side of the field wall, but it wouldn’t have mattered as in the rules, only bases in frontal contact (not corner-to-corner) can fight in the first round of close combat, and the column was only 2 bases wide. However, the 63rd NYSV had wheeled in the last turn to fire at the 5th Texas in the flank as they charged the 2nd Wisconsin. Between the NYSV and Wisconsin volleys, 6 hits were caused on the 5th Texas. Even with that, they couldn’t fail their morale test to contact as they had +4 (the +1 for being veterans meant that even rolling a 1 wouldn’t result in a fail).
So each side started with 2 D6 and add 1 for being infantry fighting infantry in the open – the 5th Texas scored 2 hits to 1 and pushed the Union back, but again the morale test for losing melee couldn’t be failed.

Fire on 5th Texas flank as they charge
I had to call it a day there, but it looked as if the Union line was in danger of being ruptured by the 5th Texas, while the South Carolina brigade were winning the firefight in the centre.

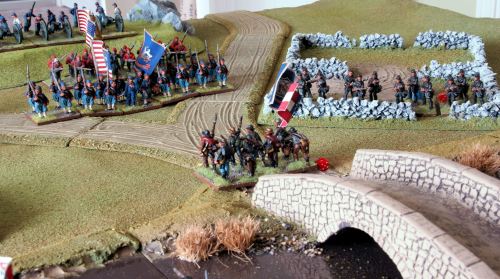
South Carolina brigade makes it across the river
I really like the rules and the support from the author on the Lead Adventures forum is greatly appreciated. In the next game, I’ll be using snipers, a feature of the rules I like the look of. Given the morale minuses for losing a general in sight of your troops (never mind losing the +1 for having him within 10″), snipers may well be an essential balancing mechanism to the high morale values of troops with over 75% of their starting strength intact. Also, when 1 unit breaks or is destroyed, other units who witness it get minuses to their morale checks, so lots of potential for a total collapse if the dice land like they usually do for me!

