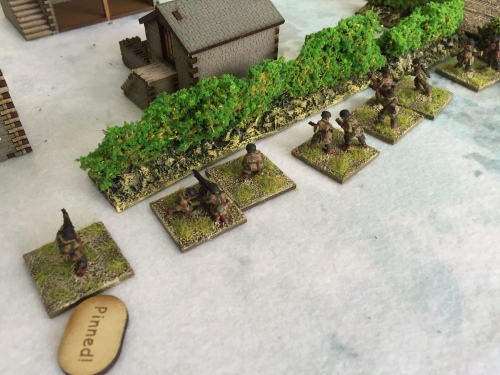
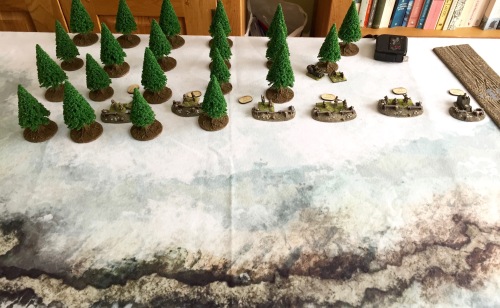
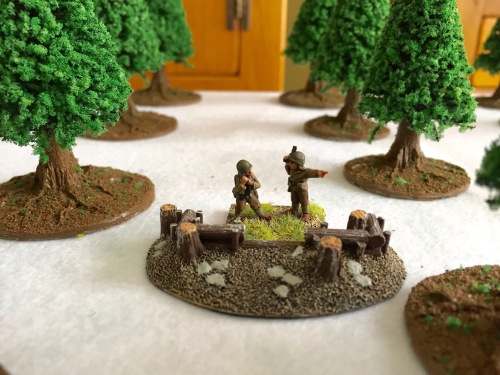
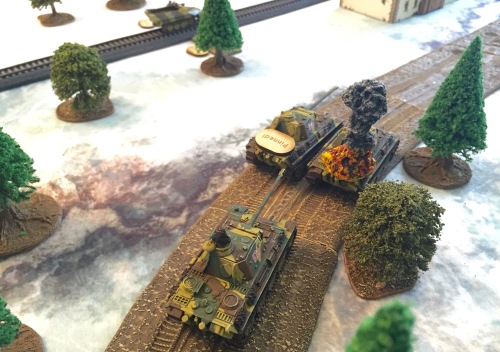
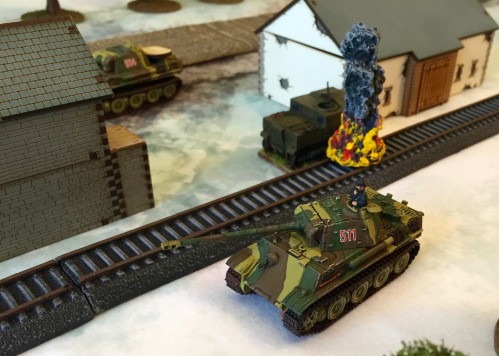
Soviet recce race towards the roadblock
The scenario was adapted from the “Fall of the Reich” campaign scenario, “Fall of Seelow” but with alternative forces and set a bit further south and east (hence the houses and church). The 2 objectives the Germans had to hold were the roadblock and the church, though the Russians could make the Germans take a battle counter for every 3 units they exited off the German side of the table, so as the Germans, I couldn’t just hunker down and defend the village as I might have just been bypassed.
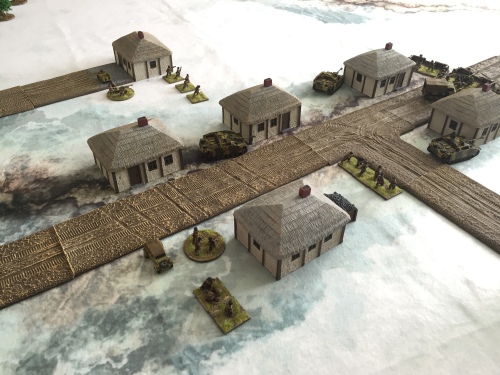
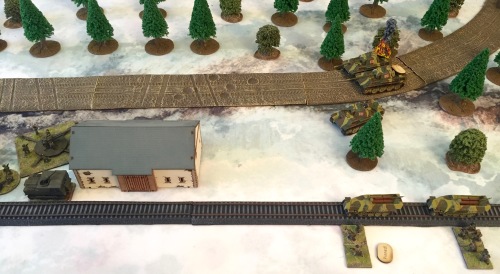
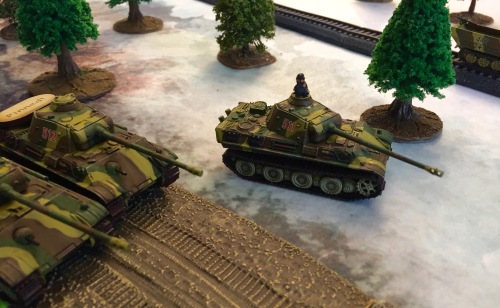
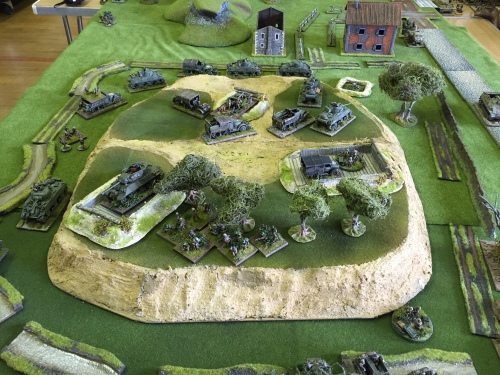
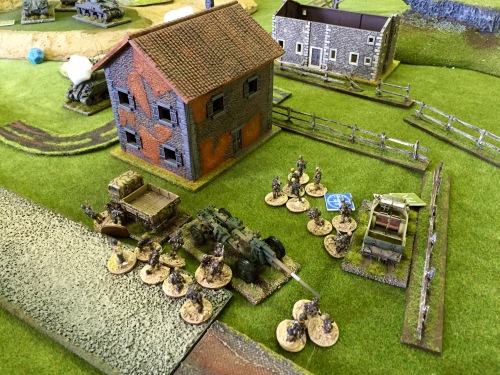
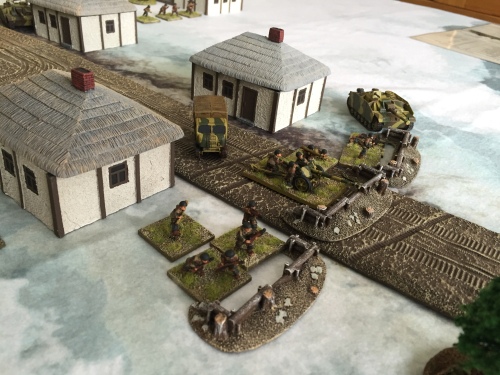
German defence of the village
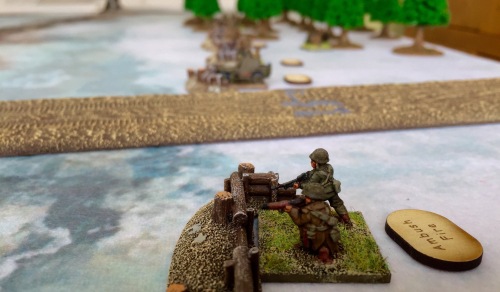
The Russians brought on their heavy armour with tank riders straight away, so the Pak40 on ambush fire opened up – but failed to hit twice.
PaK40 opens up – and misses
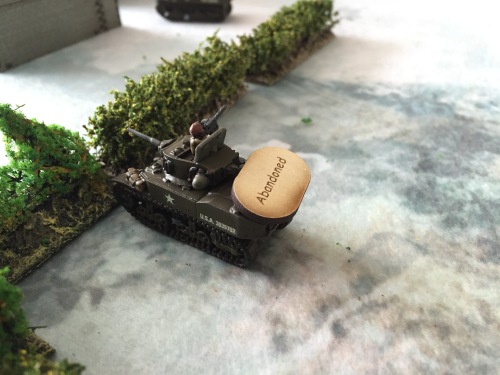
It lost a crewman to tank MG fire then straight away the crew failed a morale test and abandoned the gun.
IS2 responds with MG fire
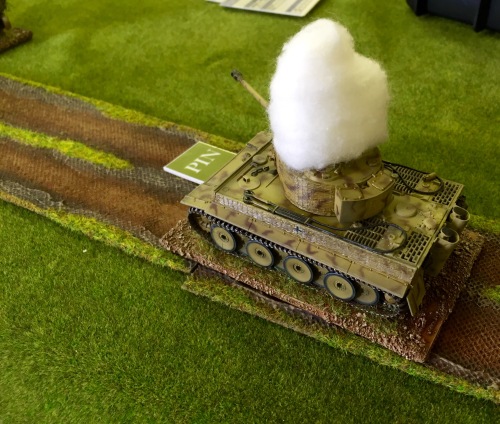
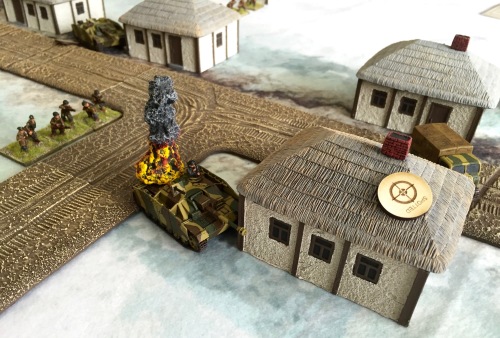
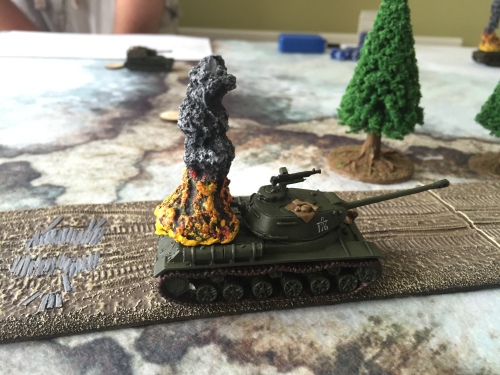
The morale counter drawn was breakdown, which was played straight back on the nearest IS2. The resulting 6 roll meant that not only had the tank broken down but it had caught fire as well, so it’s crew abandoned it and the squad riding on it understandably jumped off.
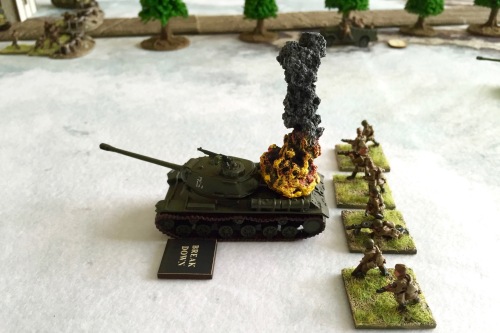
Mechanical failure
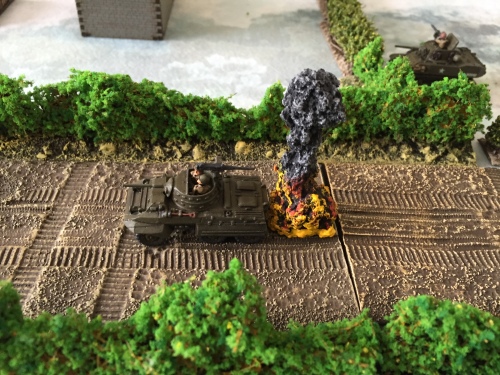
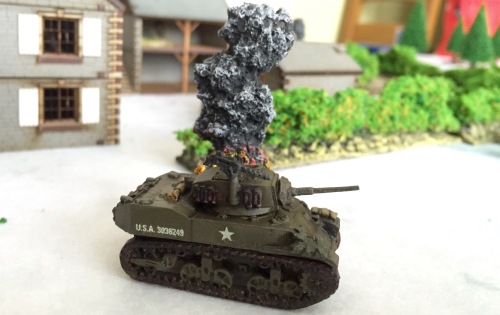
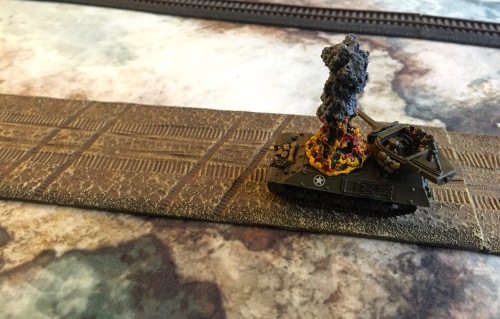
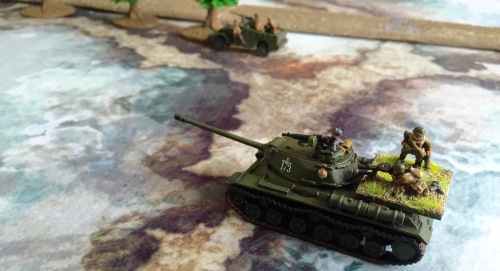
The other IS2 on the board penetrated a StuG and blew it sky-high.

The first STuG goes up in flames
The German officer in his StuG led a charmed life when a 122mm AP shell from an IS2 failed to penetrate, only pinning him – his luck ran out when the Russian FAO finally managed to call in a mortar strike after 3 failed attempts and though the mortar failed to penetrate, the crew had had enough and abandoned their tank – it was out of ammo anyway (and I had forgotten to take a supply truck – fielding STuGs – DOH!).
STuG commander abandons his post
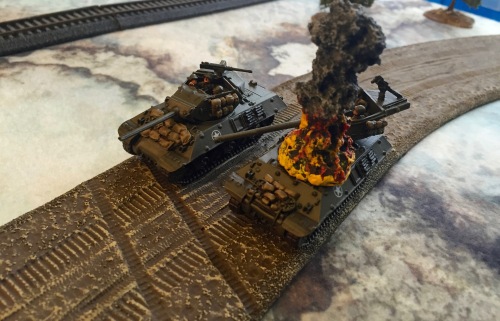
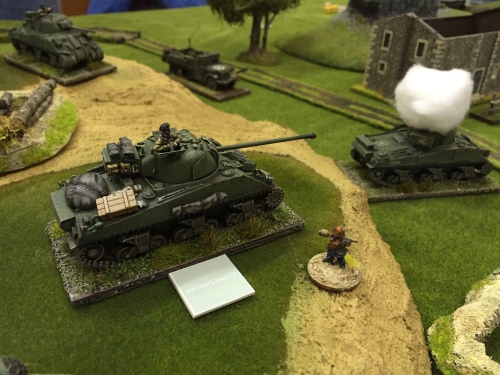
The Russians also lost their armoured commander when a shot from the last STuG went clean through his front armour.

IS2 commander brews up
That last StuG fell victim to the “out of fuel” counter morale counter drawn by the Russians and the crew abandoned it with a nearly full load of ammo inside.

The last STuG runs out of fuel and is destroyed by its crew
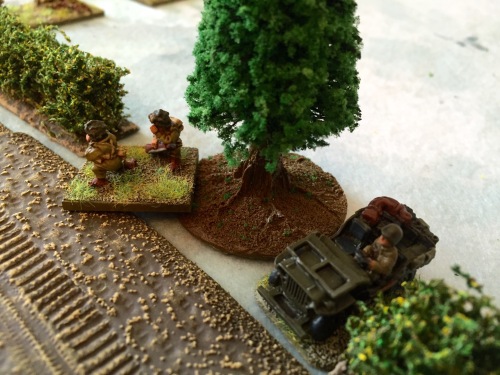
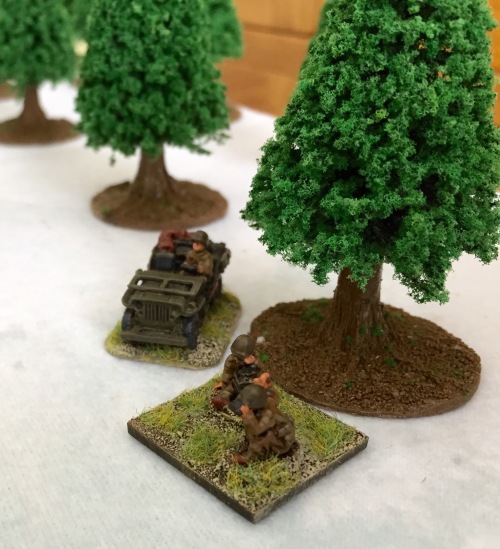
An IS2 stopped just outside Panzerschreck range but not to be outdone the Panzerschreck charged the tank and fired – the shot went wide so in the next turn the tank turned its MG on the foolhardy team. Though the loader was killed the gunner fell back to cover. The same move was repeated next turn, when he again failed to hit and died in a hail of MG fire.

PanzerSchreck charges
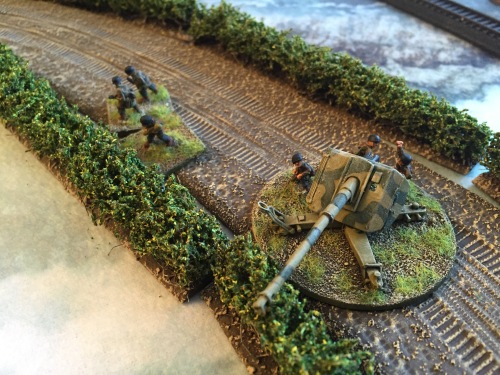
The German 88 was positioned in a wood to the German left with a good field of fire, but at long range so it only hit once in the entire game, rolling a 3 on 2D6 which meant the IS2 targeted was only pinned.
The Russians had played a drawn ”Ammo Low” counter on the German’s off-board 120mm mortar, but with only 1 salvo left the 120mm mortar battery scored 3 direct hits and took out an IS2 tank, the infantry squad riding on it, and and only just missed taking out an SU76 as well, but pinned it regardless.

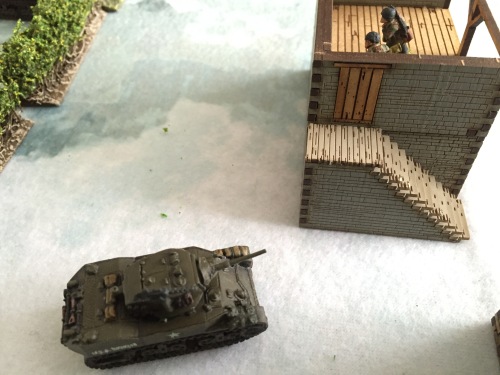
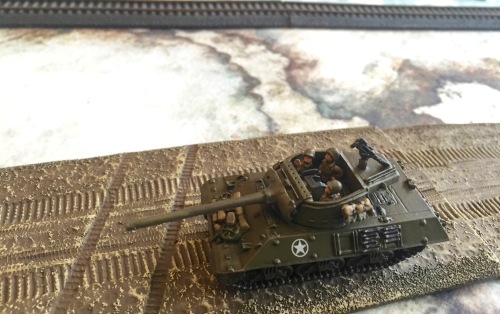
SU-76
Mortar strike
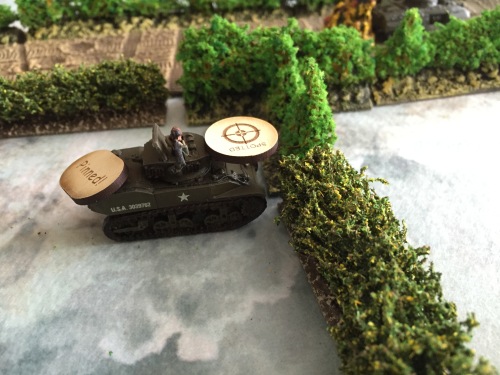
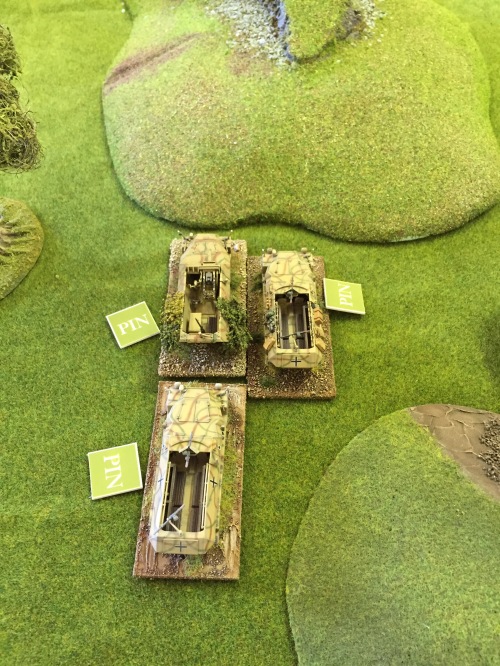
When the Russians took out a German squad later in the turn due to a “call of duty” roll, the morale counter drawn was “Confusion” and played on the same SU76 – the morale roll was a 1 so the crew abandoned it. The morale counter they drew in turn was “Out of fuel” (for the Germans only) which went on the 250/9 Armoured car and a bad roll led to the crew abandoning it as well – phew!

Yet another Out of Fuel counter…
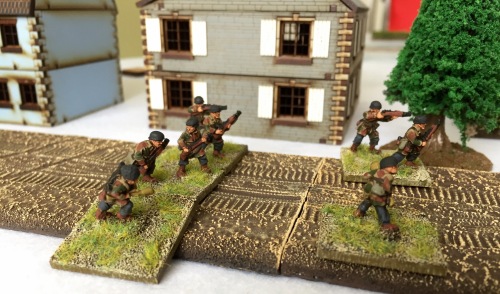
By the time the Russians overran the roadblock which was the 1st objective, there weren’t really enough Germans left to deny them the other objective (the church) so with no tanks left and 2 IS2 and 2 SU76 racing towards it, I conceded.

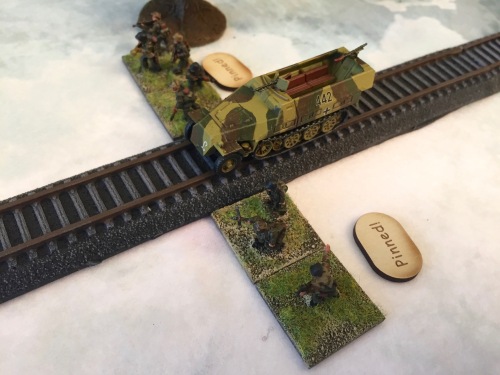
Russian infantry take the roadblock
This was another cracking game using these rules, with event counters and bad dice rolls from them prevailing. To be fair, we had only used the Fall of the Reich morale counters a couple of times before so hadn’t seen how brutal they can be for the Germans (especially if I’m rolling the dice!)