Category Archives: Saga

Saga (29/08/2014 – Tom)

Scots

Scots

Although I bought 2 sets of the Scot Saga dice to allow this match-up to happen, we have never actually pitted these two historical opponents against each other, so it was about time we got round to this. The scenario was “Kill the Warlord” from the original Saga rule book but we used the terrain set-up from the new updated “The Crescent & the Cross” version of the rules, and much better it is too. I went with the maximum bid of 3 pieces of terrain while the Scots went with 1 so a total of 4 pieces went on the table. The Scots had a hill while I had a wood, a ploughed field and some rough ground – all of my terrain could generate shooting using the “Sons of Dana” while I’m not really sure what the hill was for as it wasn’t rough ground and only blocked line of sight – nonetheless I moved it back into my deployment area when I rolled the option to do so just in case.

Irish rain javelins down from the hill

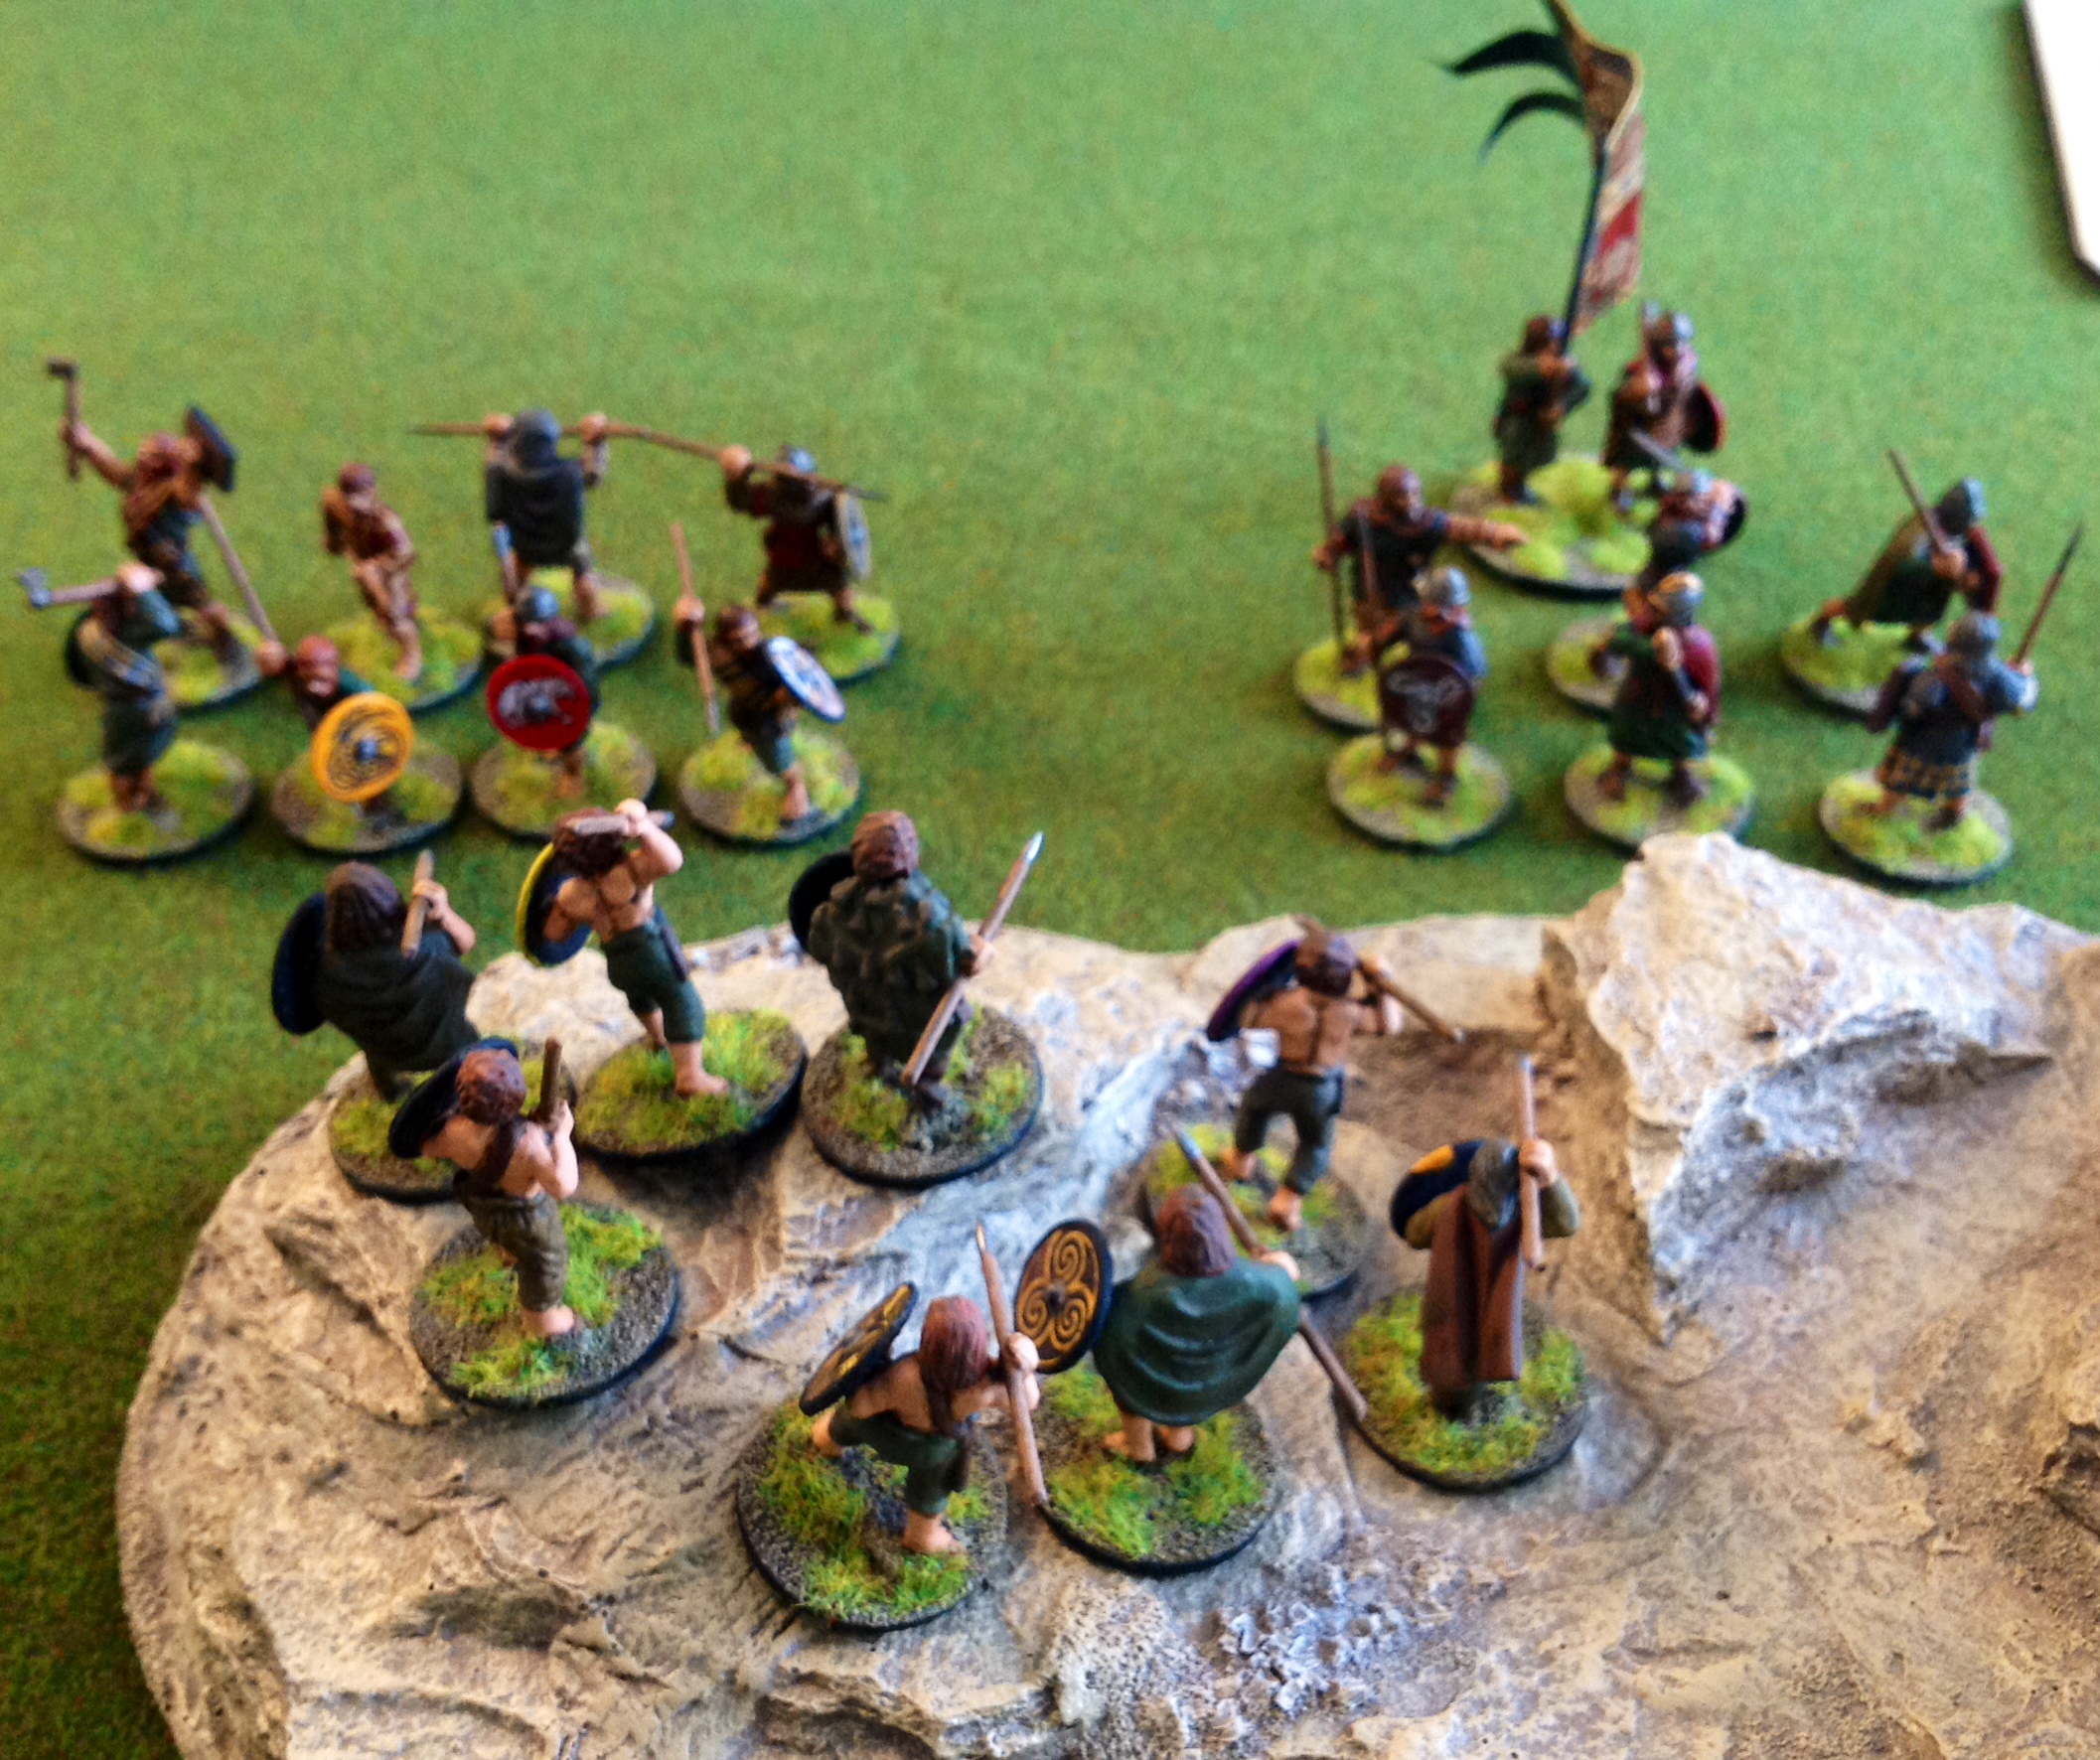
Irish rain javelins down from the hill (with no effect!)

The Scots got the first action and moved up their entire line while leaving what seemed like a lot of dice on the battleboard. For my turn I tried to get some javelins launched at the enemy, but both my warrior units failed to score any hits and the “Sons of Dana” ability which has shot coming from terrain rather than a unit also failed spectacularly.

Scots warriors take on the Irish on the hill

Scots warriors take on the Irish on the hill

On their next turn the Scots concentrated on my left flank. They launched an attack on the hill with a warrior unit – I stopped them using any melee abilities with “Blade of Truth” and won the melee 2 casualties to 1 but to be honest I would have been better off losing and retreating as next against the warriors came a unit of 6 Hearthguard with a stack of abilities left on the battleboard.

Scots Hearthguard send the Irish warriors packing

Scots Hearthguard send the Irish warriors packing

I killed 1 Hearthguard but in return they scored 14 hits – although I was lucky and managed to save 9 (rolling 5 or 6!) I still lost 5 warriors reducing the unit to 2 men. Needless to say, the Scots took the hill.

After the melee on the Irish right flank

After the melee on the Irish right flank

I didn’t roll too badly for my orders phase of turn 2 and managed to line up a shooting combo of “Bansidh Whispers” & “Eagle Eye”, firstly giving each 6 rolled the effect of 2 hits and then adding +1 to any roll of 4 or more. The Scots responded with “Keeping the Distance” which gave them the same advantages as being in hard cover, so my 10 javelin shots only killed 1 Hearthguard – damn.

I followed up with a Warrior unit into the Hearthguard but even though I used “Blade of Truth” again to stop any fancy Scots melee abilities, I rolled badly and the warriors were sent back with a loss of 3 for 1 Hearthguard.

End of turn 2

End of turn 2

Real life then intervened and we had to finish there having only played 2 turns out of 6. I was in real trouble on my left flank, in that I was badly outnumbered with one warrior unit down to 2 men. The Scots were outnumbered in the same way on their left flank, but because it was their turn they could fall back before I got into contact and build up their battle board abilities while waiting for me to put fatigue on to my troops in trying to contact them.  They were also ahead in the kill count so if both warlords survived the battle it would come down to that to decide victory – in typical Scots fashion they could just go defensive and win the game by making me come to them.

So a short but enjoyable game to round off the holidays – looking forward to the next one.

Saga (02/01/14 – David over Facetime)

In a fit of madness when discussing which game we should play over Vassal for New Year, there was a wacky bid of a figure game over a video link and this was the result – a game of Saga with the Irish facing up to the Normans (ironically, the Norman General was over 300 miles away from the table in Northern Ireland). The objective was simply to kill the opposing Warlord.

One Irish Curadh (in a fetching sky blue tunic) "volunteers" to be a speed bump

One Irish Curadh (in the fetching sky blue tunic in the distance) “volunteers” to be a speed bump as the Norman IPad general looks on

The Irish went first, with the unit of Hounds bounding through some rough ground to bite at the Norman crossbows which would surely have killed quite a few hounds had they been allowed to fire. Although the hounds won the melee and drove the crossbows back, this bit of the battle turned out to be a bit of a stand-off, with the hounds afraid to leave cover for fear of crossbow bolts and the crossbows failing to do much damage because the hounds were in cover. The rest of the Irish dice went on to the battle board to build up defensive abilities while one Curadh used his free activation to place himself between the massed Norman Hearthguard unit led by the warlord and his own Irish Warlord.

The Norman Death Star

The Norman Death Star

The Norman knights and Warlord rode at the Curadh and killed him for the loss of one of their own, but he served his purpose as a speed bump and the fatigue he put on the knights persuaded them to pause for the rest of the turn. Meanwhile the mounted warriors charged a unit of Irish warriors, but with no abilities on either board it was a straight roll-off with equal number of dice which the Irish just lost and had to retreat after the combat. This however left the Norman mounted warriors exposed to a charge by the Irish Hearthguard unit of 10 figures, and when the dust settled there were no warriors left (though they did take 2 Hearthguard down with them).

Attack the Fianna

Attack the Fianna

The Irish Hearthguard’s victory diverted the attention of the Norman knights and after charging towards the Irish Warlord who was guarded only by 8 Warriors but failing to wipe them out, they decided to charge the Irish Hearthguard for their second activation on a Warlord “side-by-side” activation. After the Normans rolled an obscene number of dice, only 4 Irish Fianna remained standing, but the Norman steamroller had been stopped as they now had too much fatigue on them to risk carrying on.

Fianna survive

Fianna survive

The Irish now had the Norman Hearthguard in the right place, and using a combination of javelins backed by battle board abilities and a side-by-side attack by the Warlord  and a unit of Warriors, reduced them to 2 men. As the Norman spear-armed warriors were the only viable unit left, they were hurled at what was left of the Irish Hearthguard, wiping them out and piling into the 5 remaining Irish Warriors beside the Warlord.

Warriors try to get to Warlord

Warriors try to get to Warlord

The Normans and Irish were both rolling the same number of dice, but luck was with the Irish and the Warriors were reduced to 1 figure and pushed back. The Irish Warlord tried to manoeuvre himself and his remaining Curadh into a “side-by-side” combat with the Norman Warlord, but the flanking Norman figures stopped a legal contact by both figures, so the Irish Warlord went it alone with some battleboard abilities – he came up just short in the ensuing melee, though the Norman Warlord had to kill his last Hearthguard Knight to survive. With no forces left, the Normans picked that moment to roll their 2nd and 3rd flag of the game, so plonked them on the Dex Aie ability (which gave him double the number of dice in melee) and charged the Irish Warlord – he had to due to being in charge range and the “Warlord’s Pride” rule. The Irish had “Blade of Truth” on their battleboard which stopped any melee abilities being played, so the extra Norman dice were lost and the fight was inconclusive.

Mexican stand-off

With both sides exhausted and time running short, we called it a day there. The Irish just scraped a win on victory points by 22.5 (rounded to 23) points to 22.

We were both amazed at how well this worked over a video link, so much so that we’re going to give it a go with Field of Glory:Ancients next – maybe a slightly bigger table and 15mm troops won’t be as easy to do but we’ll see.

The Norman IPad General

The Norman IPad General

Cuba Libre, Rebel Raiders on the High Seas, Longstreet & Saga

My gaming has been restricted lately due to illness, but hopefully I’m on the mend now. One casualty of this was a game of Longstreet which I started but didn’t get to finish – here are a couple of (poor) photos of that game which at least give a flavour of the cards and unit sizes.

Rebs behind a wall

Rebs behind a wall

Union advance

Union advance

Unfortunately I didn’t get to play for long enough to form a concrete opinion on the rules, but I definitely want to give them another try soon.

On a recent holiday from work, I got a few solo run-throughs of “Cuba Libre” from GMT in – though I was a bit lukewarm on “Andean Abyss” (the first game in the COIN series) “Cuba Libre” is much more my thing with a smaller map and a faster playtime. Of course, we’ll need to see how this plays out face-to-face, but I have high hopes for it.

Cuba Libre midway through a solo game

Cuba Libre midway through a solo game

Going back in time to before the long, hot summer, Nick and myself had both been given GMT’s “Rebel Raiders on the High Seas” for our birthdays in June, so it was a no-brainer to try to get it onto the table as soon as possible and we managed this in late June. It was our first trip to sea since a 7 hour marathon “1805:  Sea of Glory” game in October 2009, which we of course failed to finish – “Rebel Raiders” looked more promising in the “finish in an afternoon” category, with 3 hours being the predicted play time. It isn’t a card driven game as such, more card assisted, but gripping none-the-less. The Union have to enforce the blockade whilst at the same time trying to conquer forts and ports by sea and river – the Confederates have to send out blockade runners to bring back goods, giving them victory points which can then be spent on building ironclads, raiders or cannons for port defence.

The east coast as the Union blockade tightens

The east coast as the Union blockade tightens

The Union dice rolling was truly appalling during the game with only Key West falling in the first 2 years of the game, but despite our unfamiliarity with rules we nearly got the game completed, so for once the playtime estimate looks about right.

Cards of the coast of Florida

Cards off the coast of Florida

I have put my non-playing time to some good use by finishing my Scots and Irish warbands for Saga – expect to see these on the table over Christmas in at least one of our usual multiplayer games.

Scots Hearthguard

Scots Hearthguard

Scots Spears

Scots Spears

Irish Hearthguard

Irish Hearthguard

Next Saturday I hope to see a few Saga tournament games at Warfare in Reading, though unfortunately I won’t be playing 😦

Until next time…

Saga (07/04/13 – Nick & Tom) – more pictures

Some more photos of our recent Saga game, this time taken by Nick, clearly showing how brutal the overall terrain layout was for the Norman cavalry and demonstrating why they lost so badly 🙂

A view over the battlefield

A view over the battlefield

Huscarls

Huscarls

Anglo Danish Line

Anglo Danish Line

Another view over the battlefield

Another view over the battlefield

Anglo Danes

Anglo Danes hiding behind a house

Next up will be a solo run-through of In Her Majesty’s Name.

Saga (07/04/13 – Nick & Tom)

Norman mounted warrior unit

Norman mounted warrior unit

We had another cracking game of Saga the other week, a three player one where the objective was to kill more enemy troops than other players (again 🙂 ). It was the first game we had played with the full 6 point warbands (my fault – I’m the only one who paints this stuff 😦 ). We rolled for sides – I got the Normans which I have been slavishly painting over the winter, while Tom got the Vikings and Nick got the Anglo-Danes. We did some random terrain generation, but the terrain rolls placed all the items in the middle of the board – being the cavalry army this would force me along the edges of the board as we were deploying in the corners.

Norman deployment facing Danes

Norman deployment facing Danes

I deployed my 12 Knights in one unit of 8 and one unit of 4 facing the Vikings, while everything else was going to move along the other board edge towards the Anglo-Danes. The first two turns were as usual taken up with jostling for position and building up abilities from all players, then in turn 3 all hell broke loose. I got the first action and unleashed my crossbowmen tooled up with some ability on the Levy archers – Tom had played a Viking ability (Raganarok) in the Orders phase which lowered all enemies armour by 1 – this meant I was hitting the Levy archers on anything but a 1. In predictable form, I rolled more than your average number of 1s and the Anglo-Danes saved the rest of the hits.

Men of the match - levy archers

Men of the match – levy archers

The Anglo-Danes were up next and had the necessary dice to activate the levy – needless to say, because of their armour being lowered as well, my crossbows took maximum hits and failed to save even one – typical – bloody peasants!! As Raganarok was active, the one of the Viking Hearthguard units charged my Knights and gave  them a pasting due to the fact that I had no abilities left on my board (and the fact I had neglected that flank and left my best troops standing around waiting to be charged).

Remains of Norman Knights

Remains of Norman Knights

Next turn my mounted Sergeants charged the Anglo-Dane spears through their own infantry but rolled disappointingly in the combat and had to disengage. With the by Viking Raganarok armour-lowering ability in effect again, the Anglo-Danes rolled enough dice to activate the levy archers twice and took my mounted Sergeants down to 2 figures in 2 consecutive rounds of shooting. This raised questions on the Raganarok ability – we played that both enemies got it when the Vikings activated it, which meant heavy casualties to both the other sides but this took VPs away the Vikings so it’s not really that smart a move given that it cost the equivalent of 2 sixes on the Saga dice. Maybe next time we will play it only affects the enemy the Viking is attacking at the time.

Skulking Danes

Skulking Danes

I got the last action phase in the last turn. Apart from the Viking using his Loki ability to kill off my remaining 2 crossbowmen, the other two factions left me alone as I didn’t really have enough troops remaining to pose much of a threat. Despite losing their Warlord in a warlord-on-warlord duel, by the time the dust had settled the Anglo-Danes were ahead by 1 point over the Vikings and 4 points ahead of me. I had 3 Knights, 2 mounted Sergeants and my Warlord left and few Saga dice to roll. However, I had a cunning plan – if I could use my Warlord accompanied by the knights to charge into and wipe out the Viking Bondi facing me without loss, then charge my Warlord into the Viking Berserkers behind the spears and kill 2 of them without loss, then I could win (a long shot, but William the Bastard didn’t get to be William I without taking some risks :-)).

Vikings on the hill

Vikings on the hill

I had a problem though – the Anglo-Danes had an Intimidate action on their board, which could be used to stop the Warlord charging into the Berserkers because it was in the the Anglo-Dane’s interest for the Viking to not kill any Normans and overtake their total. The solution I came up with was to order a suicidal charge with my 2 Sergeants into the Berserkers which they were bound to die in – it would put the Viking score out of my reach but crucially it would give the Vikings enough VPs to beat the Anglo-Danes. The Anglo-Danes did what they had to do and cancelled the Sergeants’ charge, so in went the Warlord and the Knights. I got off to a great start and wiped out the Bondi with no loss, but with no dice on abilities on my Saga board, the Warlord was going to have to roll faultlessly against the Berserkers to stand any chance. The Viking used the Warlord’s fatigue against him and I rolled a fistful of 1s, so this gave the Viking 3VPs for killing my Warlord and also gave them the game.

Another closely fought game with all sides in the running the entire time. I’m working on painting up a 4th faction, the Scots, at the moment and hope to see them in action over the summer. What I’m really looking forward to is the Arthurian supplement, but that seems to be a while off with the Crusades up next – I saw what looked like two playtest battleboards being used at Salute titled “Moors” & “Warriors of God”, so it looks to be fairly advanced.