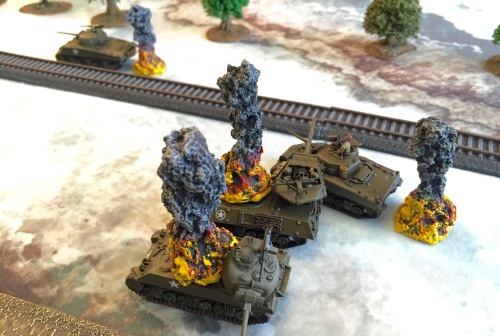
Battlegroup: Fall of the Reich (24/07/2016 – Tom)

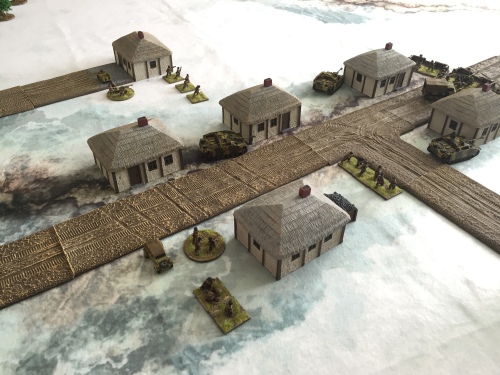
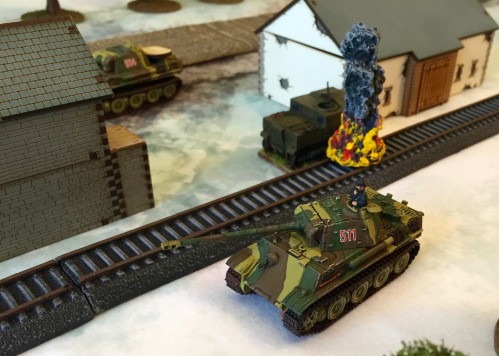
Soviet recce race towards the roadblock

Soviet recce race towards the roadblock

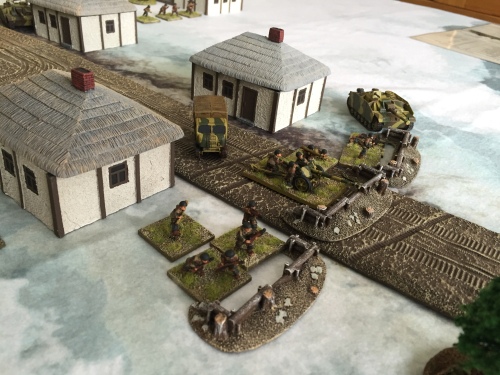
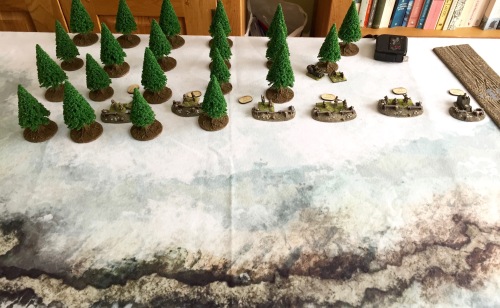
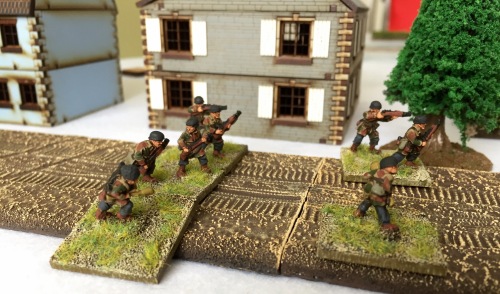
The scenario was adapted from the “Fall of the Reich” campaign scenario, “Fall of Seelow” but with alternative forces and set a bit further south and east (hence the houses and church). The 2 objectives the Germans had to hold were the roadblock and the church, though the Russians could make the Germans take a battle counter for every 3 units they exited off the German side of the table, so as the Germans, I couldn’t just hunker down and defend the village as I might have just been bypassed.

German defence of the village

German defence of the village

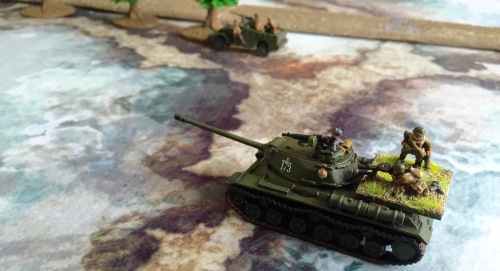
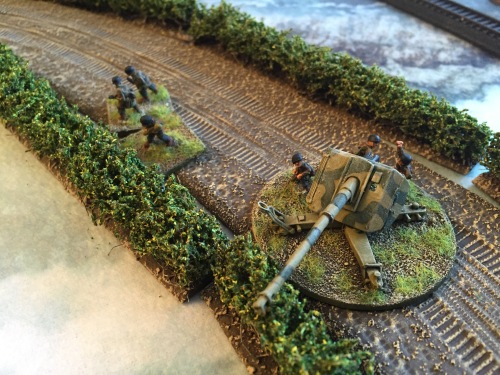
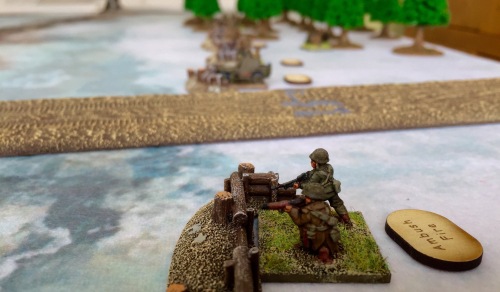
The Russians brought on their heavy armour with tank riders straight away, so the Pak40 on ambush fire opened up – but failed to hit twice.

PaK40 opens up - and misses

PaK40 opens up – and misses

It lost a crewman to tank MG fire then straight away the crew failed a morale test and abandoned the gun.

IS2 responds with MG fire

IS2 responds with MG fire

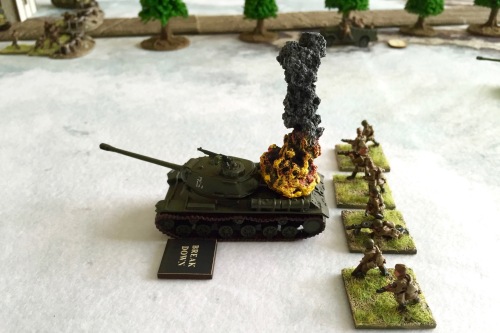
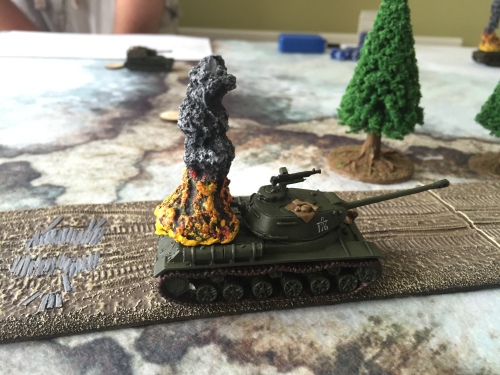
The morale counter drawn was breakdown, which was played straight back on the nearest IS2. The resulting 6 roll meant that not only had the tank broken down but it had caught fire as well, so it’s crew abandoned it and the squad riding on it understandably jumped off.

Mechanical failure

Mechanical failure

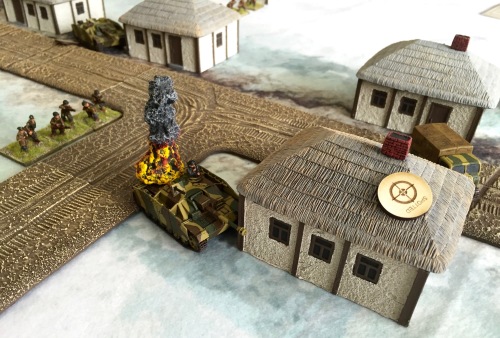
The other IS2 on the board penetrated a StuG and blew it sky-high.

The first STuG goes up in flames

The first STuG goes up in flames

The German officer in his StuG led a charmed life when a 122mm AP shell from an IS2 failed to penetrate, only pinning him – his luck ran out when the Russian FAO finally managed to call in a mortar strike after 3 failed attempts and though the mortar failed to penetrate, the crew had had enough and abandoned their tank – it was out of ammo anyway (and I had forgotten to take a supply truck – fielding STuGs – DOH!).

STuG commander abandons his post

STuG commander abandons his post

The Russians also lost their armoured commander when a shot from the last STuG went clean through his front armour.

IS2 commander brews up

IS2 commander brews up

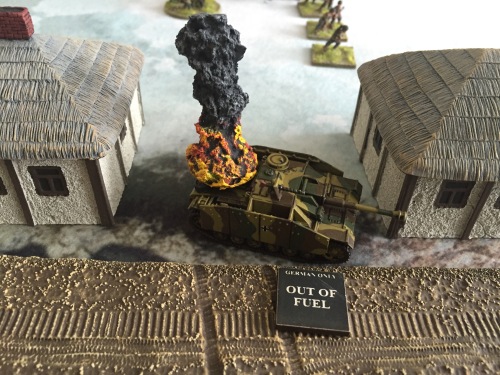
That last StuG fell victim to the “out of fuel” counter morale counter drawn by the Russians and the crew abandoned it with a nearly full load of ammo inside.

The last STuG runs out of fuel and is destroyed by its crew

The last STuG runs out of fuel and is destroyed by its crew

An IS2 stopped just outside Panzerschreck range but not to be outdone the Panzerschreck charged the tank and fired – the shot went wide so in the next turn the tank turned its MG on the foolhardy team. Though the loader was killed the gunner fell back to cover. The same move was repeated next turn, when he again failed to hit and died in a hail of MG fire.

PanzerSchreck charges

PanzerSchreck charges

The German 88 was positioned in a wood to the German left with a good field of fire, but at long range so it only hit once in the entire game, rolling a 3 on 2D6 which meant the IS2 targeted was only pinned.

The Russians had played a drawn ”Ammo Low” counter on the German’s off-board 120mm mortar, but with only 1 salvo left the 120mm mortar battery scored 3 direct hits and took out an IS2 tank, the infantry squad riding on it, and and only just missed taking out an SU76 as well, but pinned it regardless.

SU-76

SU-76

Mortar strike

Mortar strike

When the Russians took out a German squad later in the turn due to a “call of duty” roll, the morale counter drawn was “Confusion” and played on the same SU76 – the morale roll was a 1 so the crew abandoned it. The morale counter they drew in turn was “Out of fuel” (for the Germans only) which went on the 250/9 Armoured car and a bad roll led to the crew abandoning it as well – phew!

Yet another Out of Fuel counter...

Yet another Out of Fuel counter…

By the time the Russians overran the roadblock which was the 1st objective, there weren’t really enough Germans left to deny them the other objective (the church) so with no tanks left and 2 IS2 and 2 SU76 racing towards it, I conceded.

Russian infantry take the roadblock

Russian infantry take the roadblock

This was another cracking game using these rules, with event counters and bad dice rolls from them prevailing. To be fair, we had only used the Fall of the Reich morale counters a couple of times before so hadn’t seen how brutal they can be for the Germans (especially if I’m rolling the dice!)

Battlegroup Overlord (03/07/2016 – Tom)

Initial German deployments taking the fight to the American recce

Initial German deployments taking the fight to the American recce

For our second game of the weekend when we should have been at Bovington, we played through the Defence Line scenario from the main rulebook, where my American Paras with Sherman tank support debuted, trying to push some Fallschirmjagers out of a village in the Ardennes. Both sides had 600 points.

Sniper (but nothing else) is pinned

Sniper (but nothing else) is pinned

The German sniper was the only unit pinned by my ineffective initial bombardment. My Greyhound armoured car took off up the road only to be met with a PaK43 on ambush fire. A single spot and penetrating hit did for it.

Well, that was predictable

The American FAO had come on with recce troops and called in barrage when the 88 revealed itself – although on target, the barrage failed to pin it.

The American FAO

The American FAO

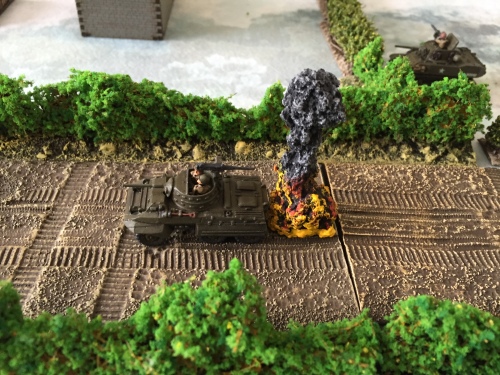
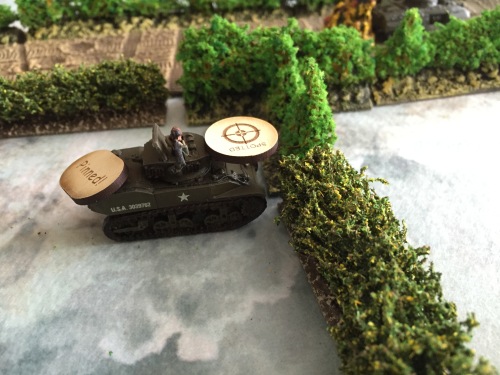
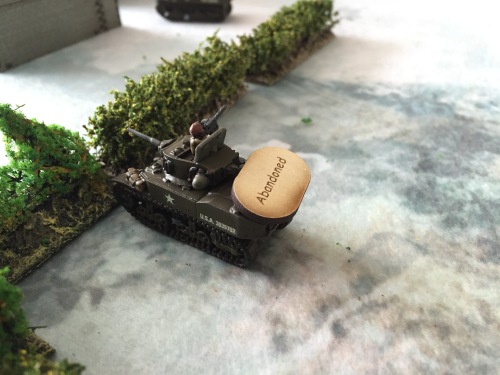
In their turn the Germans called in a 120mm mortar barrage which a scored direct hit on the command Stuart and just succeeded in pinning it, only for the officer to later fail another morale test and abandon it – it was not to be the American’s day.

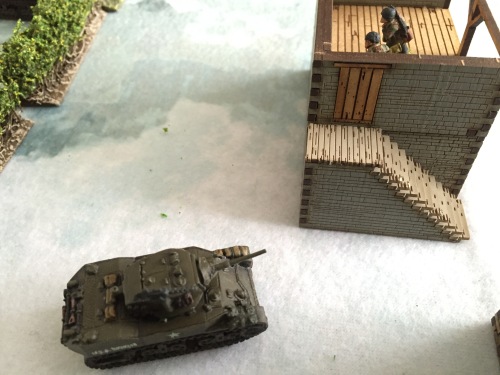
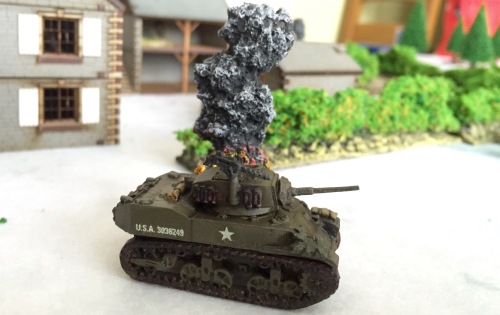
Stuart HQ weighed down with counters

Stuart HQ weighed down with counters

Then abandoned....

Then abandoned….

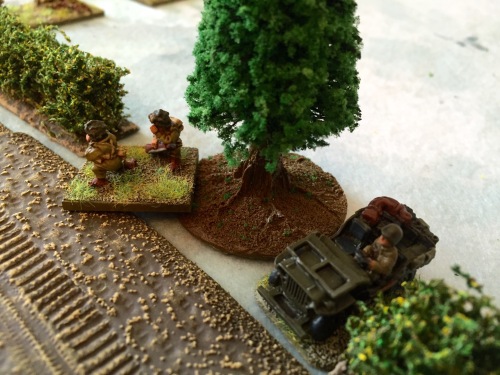
On the next American turn another Stuart managed to avoid a stalking Panzerschreck only to be shot in the rear by a Panzerfaust and destroyed.

Stuart stalked by Panzerschreck

Stuart stalked by Panzerschreck

and destroyed by Panzerfaust

and destroyed by Panzerfaust

By the time 3 Shermans arrived the 88 was back on ambush fire, taking one out immediately and avoiding the return fire from the other 2 Shermans and off-board artillery.

Shermans start to burn

Shermans start to burn

Luckily the barrage did catch the armoured car in a direct hit and destroyed – lucky as it was the only unit which could spot for the German mortars (the Germans had forgotten to put their FAO on as part of their initial deployment).

Destroyed the A:C but still couldn't pin that 88mm!

Destroyed the A:C but still couldn’t pin that 88mm!

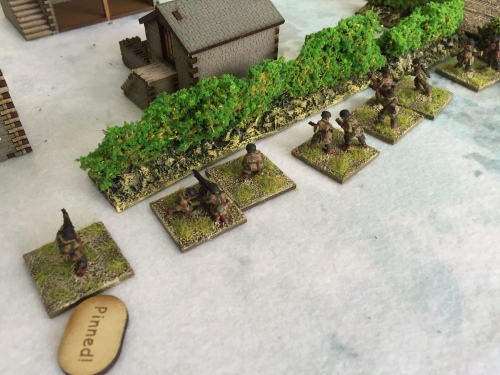
Meanwhile the American infantry were struggling to make headway against the dug in German Paras supported by an HMG. One American Para squad took 5 hits in the open but I for once remembered the fall back rule, so they took 1 casualty and fell back 10″ to the edge of the board pinned.

American Paras attempt to run to the cover of a hedge

American Paras attempt to run to the cover of a hedge

Then another American squad broke, and with 3 Shermans knocked out before the German’s reinforcing armour had even arrived, I conceded.

That annoying 88.

The small size of an Overlord American Para platoon definitely counts against them when attacking well dug-in troops. The Germans were so far forward that the FAO could not safely bring down artillery fire on them so concentrated on the further back defence line on the other flank with the intention of outflanking the forward defenders with the Shermans. The inability to damage or even pin the PaK43 88mm meant that this strategy ended in disaster. Another cracking game of Battlegroup and a chastening debut for my American Airborne.

Gates of Antares (02/07/2016 – Tom)

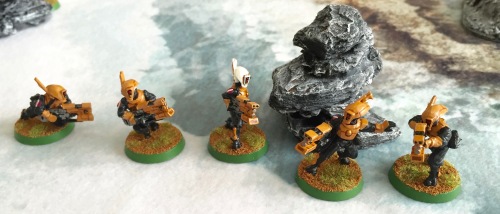
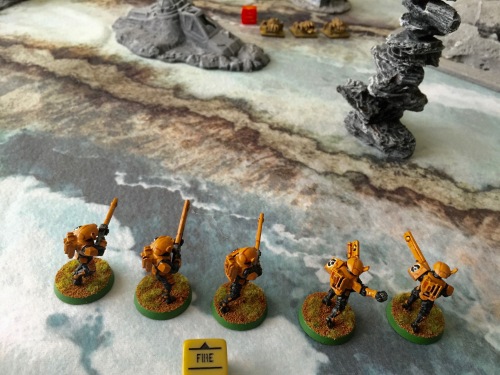
Concord command squad

Concord command squad

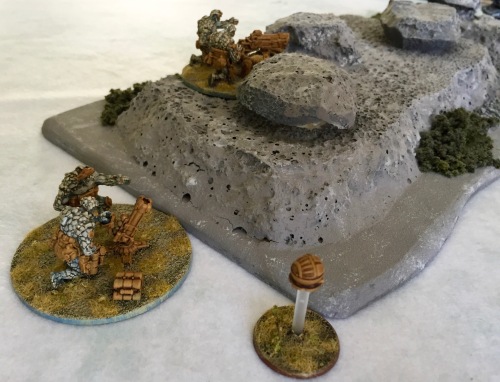
We should have been at Battlegroup South at Bovington today, but real life intervened, so we were at home playing Gates of Antares for the first time instead. I had painted up a small force of Bromides from my birthday haul to take on my old 40K Tau who were posing as Concord.

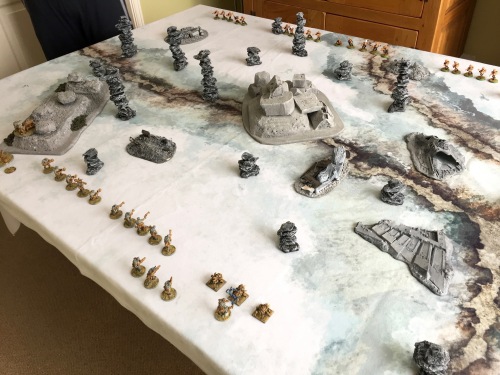
Overview of the board

Overview of the board (Boromites at the bottom)

The scenario was a basic learning one of kill the most enemy which, to be fair to the rules, did say that it could degenerate into a firefight with little manoeuvre due to the long weapon ranges. It duly did degenerate but we did get a fair handle on the rules.

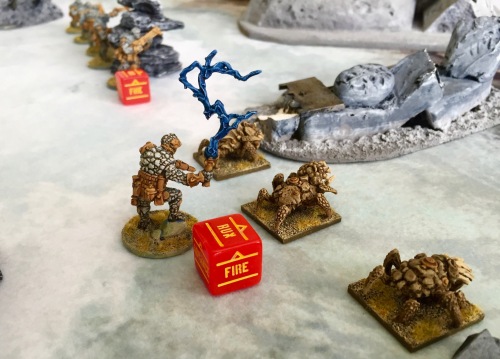
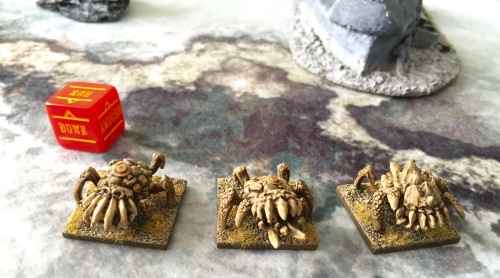
Lavamites driven forward

Lavamites driven forward

The only attempt to get into contact with the enemy came from my Lavamites with their handler (probably because they couldn’t shoot!). On the way to contact the Lavamite handler failed 2 saving throws and went down leaving the Mites with a command of 5 so unlikely to obey orders – they dithered around failing command rolls until they were shot to pieces.

Lavamites charge

Lavamites charge

We got an extra turn due to a dice roll and the game came down to the Concord trying to wipe out my command squad. My Gang Leader survived (just) leaving me unbroken so when we counted up the points I had won by a slim margin of 10 out of 500 – hardly decisive but a win is a win against Tom 🙂

Boromite command squad

Boromite command squad running away to win the game!

It was an enjoyable enough experience and more than just the Bolt Action in space which it has been accused being of in some quarters. I had taken some heavy support weapons, the futuristic equivalent of an HMG and mortar, with the mortar being the most effective. Next time we will play with a scenario with some objectives to make it more interesting.

Some more photos:-

Squad take aim at Lavamites

Squad take aim at Lavamites

Boromite base of fire

Boromite base of fire

Concord squad

Concord squad


Battlegroup Wacht am Rhein (30/05/2016 – Tom)

American line after 2nd assault

American line after 2nd assault

Breakthrough at Lanzerath Scenario.

This was the first all-infantry game of Battlegroup we had played. The Americans were dug-in with 20 men, a few BARs and an Armoured Jeep with an LMG, whilst the Germans had a Fallschirmjager company of 3 platoons, the catch being that they arrived one platoon at a time and had to attack in 3 waves. Every time they were broken they had to go back to their deployment zone but got reinforced by another platoon.  The American BR was a healthy 18 to start – 10 base plus a 2D6 roll of 8. They added 2D6 for each subsequent assault as well, so this was going to be a real challenge for the Germans who were on around 14 BR at the start of each assault.

BAR team on German right flank

BAR team on German right flank

The American foxholes gave a 2+ cover save and they were small teams so harder to spot – the Germans had no mortars until the second wave arrived either.  The Americans on the other hand had no mortars at all, but had 3 artillery requests which proved crucial in the game.

American FAO

American FAO

As the German first wave advanced they were pinned with HMG fire from the jeep and BAR fire from the other foxholes – so much so that the Germans had to take a morale counter to do anything as almost all their units were pinned.

1st squad barely get beyond village before they are pinned

1st squad barely get beyond village before they are pinned

The German return fire was ineffective, so when the American FAO managed to call in a mortar barrage which wiped out a section this took Germans to their breakpoint.

Armoured jeep anchors the line

Armoured jeep anchors the line

As I said, the German 2nd wave got 2 off-board 80mm mortars which started to make an impression. They pinned the Armoured jeep twice, the second time just after it had taken a morale counter to unpin – ouch – but of course not destroying it. The Germans formed a grand battery of LMGs which succeeded in taking out a BAR team, then they pushed up road with the non LMG sections while deploying the remaining LMG from the 1st wave behind a hedge on the left flank to shoot in the assault. This all came to nothing as the American 2nd artillery barrage was successfully called in, wiping out a German Platoon HQ and forcing the Germans back as they had reached their breakpoint once again.

Complete lack of headway for 2nd assault

Complete lack of headway for 2nd assault

With the 3rd and final wave on the board, the Germans finally wiped out the defenders to right of road. Their success was short lived however, as the Jeep wiped out a section advancing up road, followed by an American rifle squad wiping out another section with long range rifle fire.

3rd wave goes in with depleted squads

3rd wave goes in with depleted squads

The German mortar fire got lucky at last with a direct hit on the Jeep – needing greater than a 7 on 2D6 I rolled a rolled 7 and only pinned it. Next turn the mortars hit it again, forcing a morale test and on a roll of 1 the jeep was abandoned. It was too little too late however, as the American FAO called in his last artillery strike – he succeeded in contacting the battery (again!) and the resulting barrage wiped out another German section and pinned some more. As the Germans, I only had 1 BR remaining so I took a morale counter as I had nothing left to activate and the game was already lost.
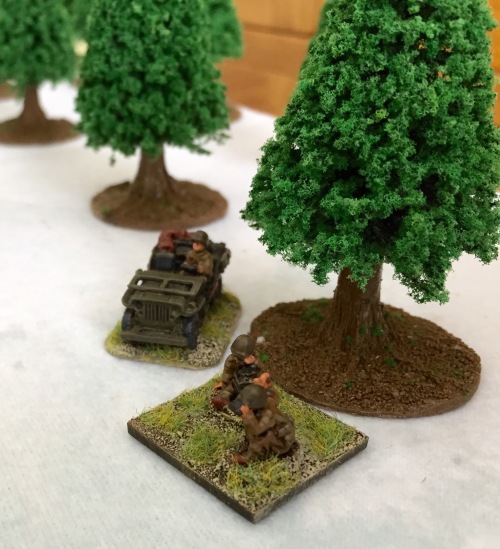
LMG team attempts to give covering fire

LMG team attempts to give covering fire

My luck was finally in, as I got a “Confusion” counter, but I played it on squad who easily passed their morale test – typical. In the final act of the game, one of my LMGs opened fire but got hit by American ambush fire and destroyed, with the resulting counter breaking the Germans. The Americans had lost 5 men in total.

American command untouched in their foxhole

American command untouched in their foxhole

It was an interesting scenario but very difficult for the Germans to win, even without the American artillery being the most effective we had yet seen in a game of Battlegroup, with minimum deviation and lots of direct hits. Though the German return fire was nearly as accurate, the protection offered by the foxholes saved the infantry most of the time, whilst the only direct hit on the Armoured Jeep failed to penetrate it 😦

Next time we are back to fielding tanks as the Germans approach either Ligneuville or Stavelot, depending on which forces I have finished painting –  although if it is Ligneuville the Americans will get an extra M10 for their victory in this scenario.

Battlegroup Wacht am Rhein (10/05/2016 – Tom)

The view from the 90mm AA gun as the first Panther arrives.

The view from the 90mm AA gun as the first Panther arrives.

This was the first scenario we had tried from the new Battlegroup book. We wanted something we could play to a finish in a few hours, so the “Stoumont Halt” scenario (with 4 tanks a side and a few squads of infantry) fitted the bill.

The object was to break the opposing battlegroup and each side had exactly the same BR of 20 – we rolled for sides and I got the Germans. The German forces arrived over the first 4 turns, while the Americans had to roll from turn 3 for their tanks to arrive – their AA gun and infantry (all 6 of them!) started deployed around and in the railway buildings.

On the first turn, a Panther came on, rolled up the road and was fired on by the 90mm on ambush fire – the AP shot missed, but the HE hit and a roll of 12 equalled the Panther’s armour so it was pinned.

Pinned Panther overtaken

Pinned Panther overtaken

In the American turn, the 2nd AP round fired at the Panther failed to spot and the HE failed to dent, but luckily (as they were already pinned) the Panther crew passed their morale test.

Panzer Grenadiers arrive but are pinned as they de-bus

Panzer Grenadiers arrive but are pinned as they de-bus

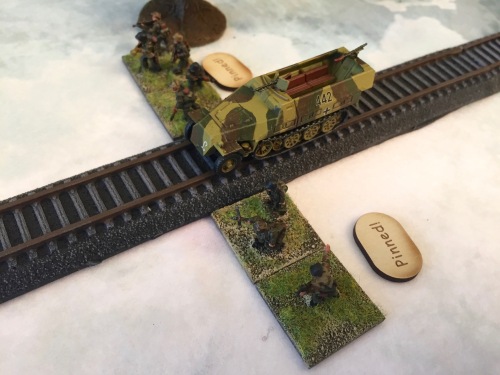
The first German infantry squad came on in a halftrack straight up the railway line towards the back of the station buildings, but that were pinned by overwatch fire as they dismounted. Return area fire pinned the prime mover as it had an HMG which could ruin the infantry’s day.

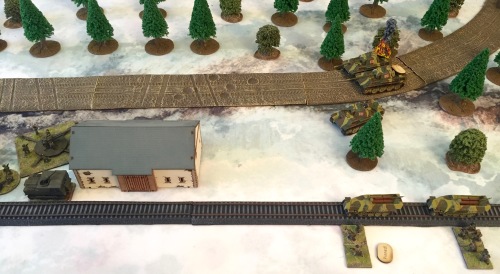
The situation around the railway halt

The situation around the railway halt

As American reinforcements arrived, the Germans finally got their eye in on the shooting and quickly destroyed all the Allied armour for the loss of only one Panther.

We drew quite a few events for a change with led to some fun exchanges. For example, the 90mm fired HE at pinned the command Panther – it hit and failed to penetrate, but resulting morale test gave a “Call of Duty” test which was passed, so the Panther machine-gunned the gun crew, killing 3 out of 7. Their morale chit then gave “Call of Duty”, so they fired 2 more shots in return (HE – they were out of AP by this time) but although they hit they couldn’t get a decent morale result. This exchange probably won me the game, because I didn’t have enough morale left to risk unpinning my officer – it was nice of the Yanks to oblige. On my next turn, that Panther destroyed a Sherman.

I was lucky again as another morale chit “Out of ammo” played on a Panther rolled a 1, so I was OK for the rest of the game. The game ended when the American battlegroup broke while the Germans were at 17 and only had 3 left.

Some more photos:-

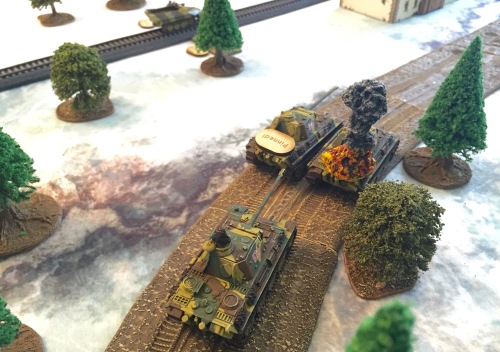
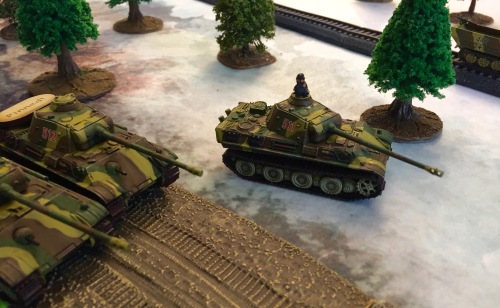
Panthers block the road

Panthers block the road

American heavy support arrives

American heavy support arrives

First blood to the Americans

First blood to the Americans

Panther commander takes on the M36

Panther commander takes on the M36

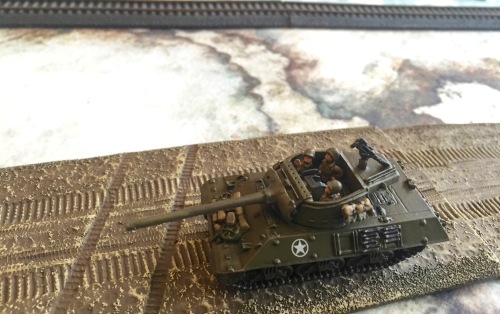
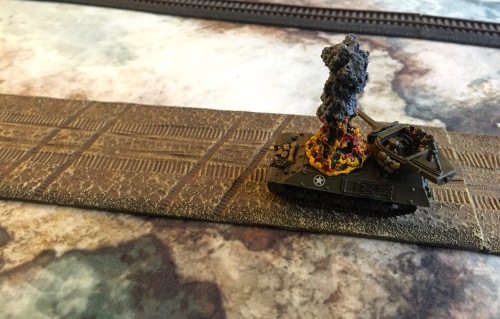
M36 brews up

M36 brews up

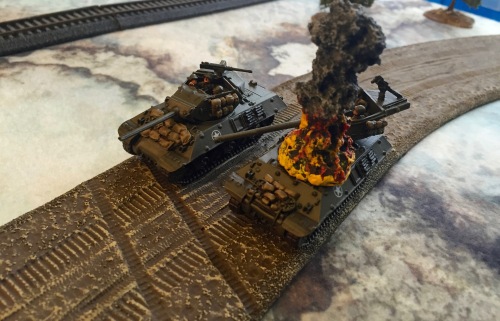
M10 passes burning M36

M10 passes burning M36

Panther crosses the tracks to line up a better shot

Panther crosses the tracks to line up a better shot

A bad day for American armour

A bad day for American armour

Man of the match - the Panther troop commander

Man of the match – the Panther troop commander

By game end, every American tank is burning

By game end, every American tank is burning

A great scenario and a close result – next up is an all infantry encounter “Breakthrough at Lanzerath” as we play the Battlegroup Wacht am Rhein campaign scenarios in a random order 🙂